This page describes my experiments with scanning a magazine with the Canon MP730 multi function Printer using Nuance PDF Converter Pro 7 and Photoshop Elements 8 software. It shows some experimental pages with results of different scanning techniques and suggests optimum software and hardware settings for at least this magazine.
The magazine was a 1963 edition so the paper had faded and yellowed some. The pages were a little over 8.5 inches wide and almost 13 inches long. After taking out the staples there were two magazine pages to a side of each sheet and so they were not sequential on a sheet. Thus the task was to scan in the sheets using the MP730 automatic document feeder, crop the left and right hand pages and save as .jpg files, and then rename the pages to be in order and finally create a searchable .PDF file of the document using MRC encoding techniques to get a file which will download quickly over the web.
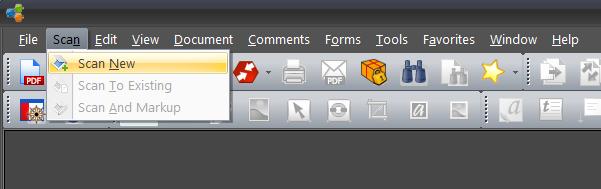
Before scanning remove the staples and pull the magazine apart page by page to make sure no pages are stuck together. Also make sure each page is complete. Next I used the Nuance PDF Converter Professional 7.0 to scan the documents. This software sells for under $100. First click the Scan menu item and select Scan New.
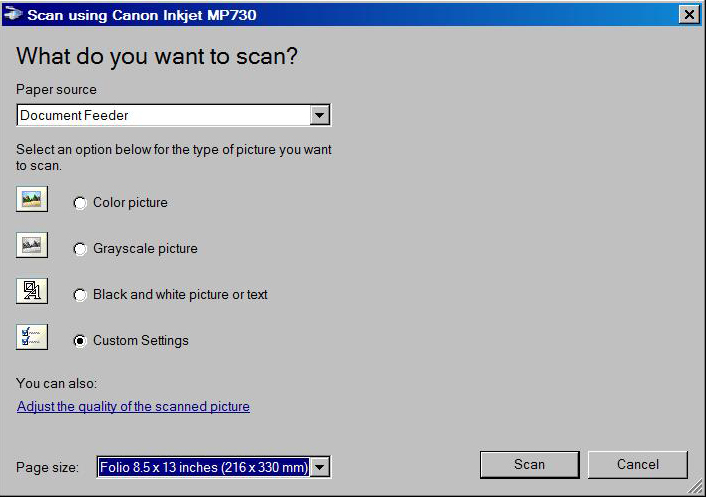
In the window that comes up change from flatbed to sheet feeder. Also click on Custom. I tried "Black and white picture or text" but it gave a poorer results than "Grayscale picture". My magazine was black and white with pictures and some color so I also tried "Grayscale picture". Finally I selected Custom since I wanted to set brightness, contrast, and dpi on the "Advanced properties" page and you can select "Grayscale picture" on that page also and it overrides clicking it on this page.
After you click on "Custom", click on "Adjust quality of the scanned picture". The Advanced Properties window comes up. (you only have to do this once because the custom settings are saved until they are changed again.)
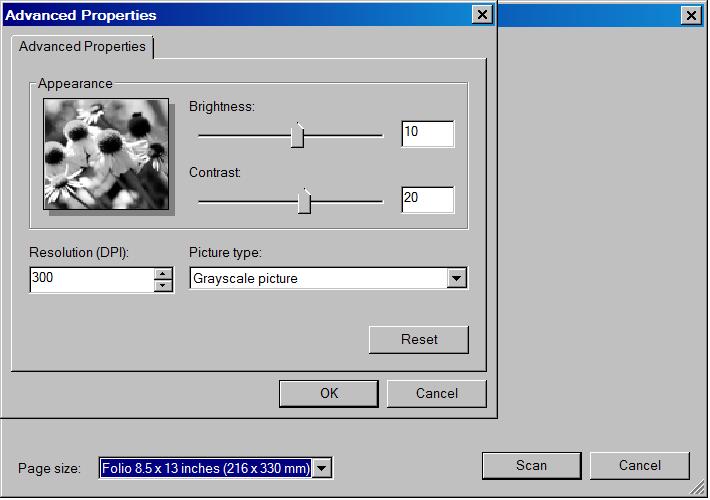
Here you specify dots per inch. 400 dpi was too granluar and picked up grain in the paper.
250 dpi was not enough for contrast or good text recognition so I used 300. After experimenting with Brigtness of -10, 1, +10 and +20 I selected +10 (it depends on the quality and type of paper and the ink.
Then Contrast. After experimenting with 1, +10 and +20 I settled on +20.
You also select the "Picture type" here specify "Grayscale picture". Then press OK.
Now select the paper length. It would be nice if the length would stay fixed but it doesn't and has to be selected each time.
The preferences have to be set so the sheet feeder will feed all the sheets without stopping. This can be done if, when you add the scanner to the set of scanners known to Nuance, you set it to "normal". [other settings didn't seem to work with the MP730]

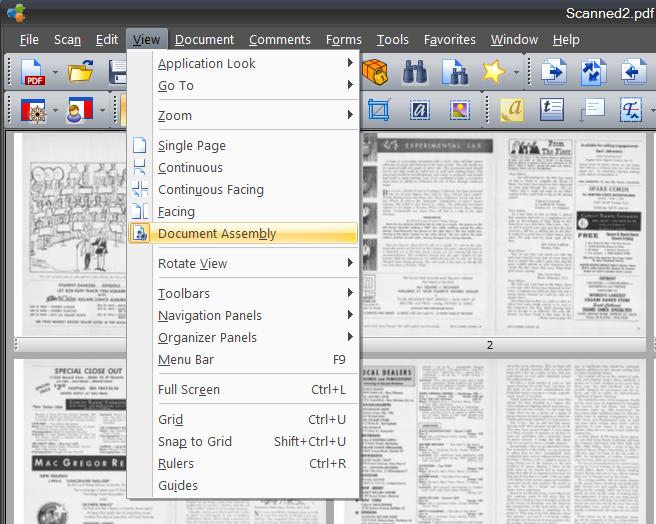
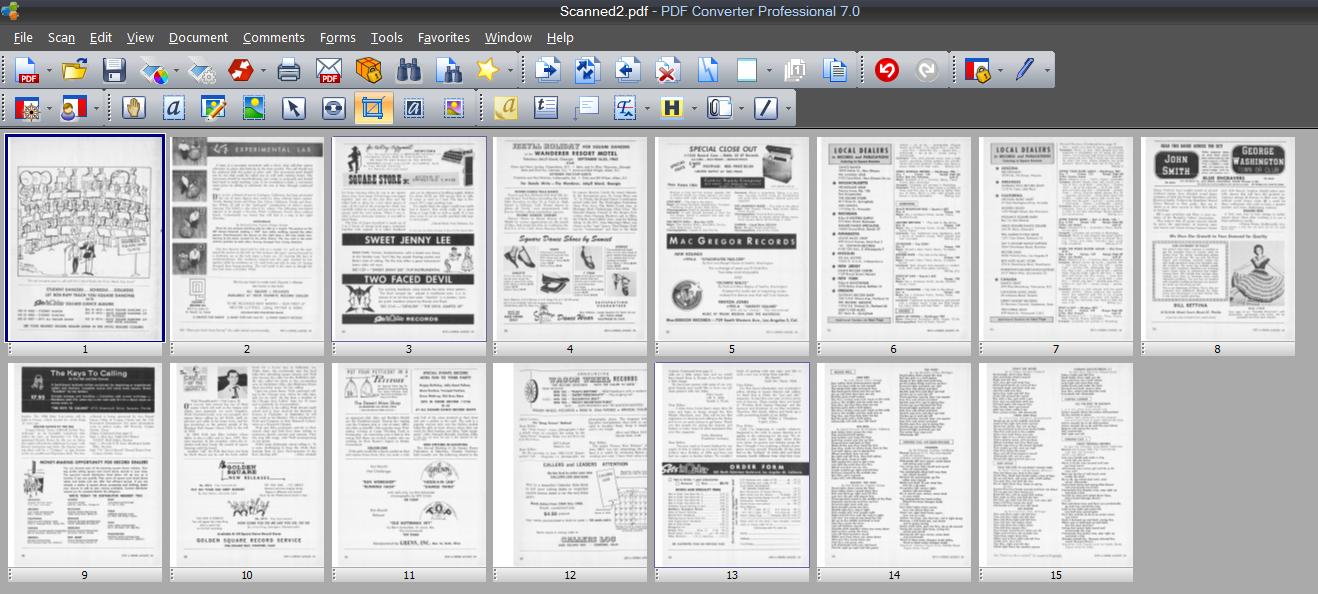
After scanning one or more pages will be shown on the screen. If only one page is shown select "View" from the menu and click "Document Assembly" so you can see all the pages. Then select "View" and "rotate" the pages so they are horizontal [depends on how you put the pages in which way to rotate].
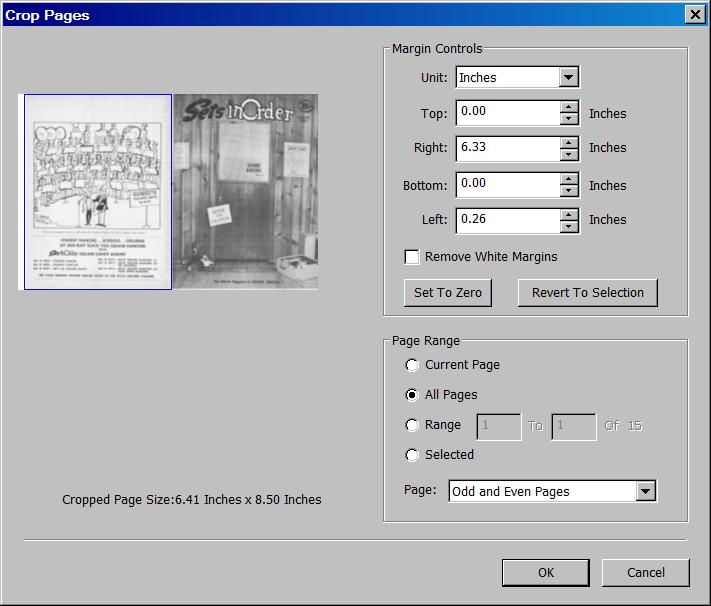
Then press the cropping menu item. Double click on the first sheet (2 pages) and in the crop window that pops up select just the left side of the page by sliding the right blue line to the left. Click "All pages" menu item. Click "OK".
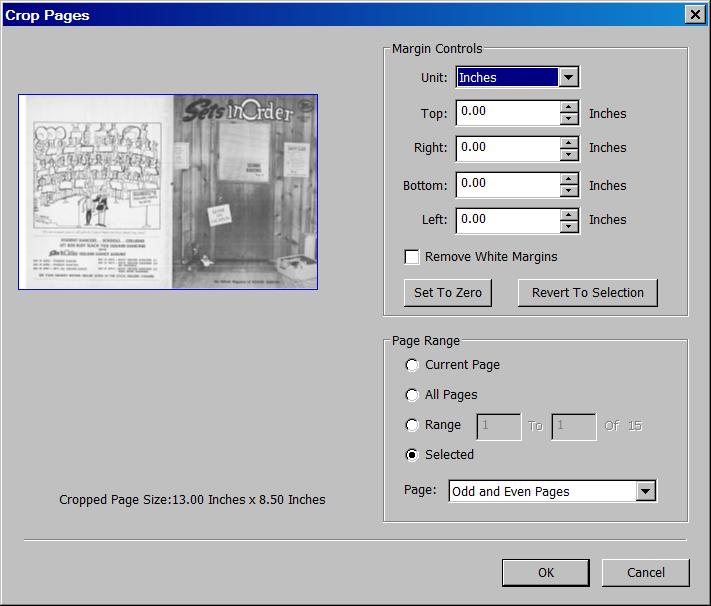
Look at the resulting pages to make sure all sides of the page are included. If there is a half a page then the page might have been folded during the scan. This is a quality control checkpoint.
Click "File" and then "Save As". Change the "File name" which is highlighted to "fl" (without the quotes) for front left. Change the "Save as type" to "JPEG".
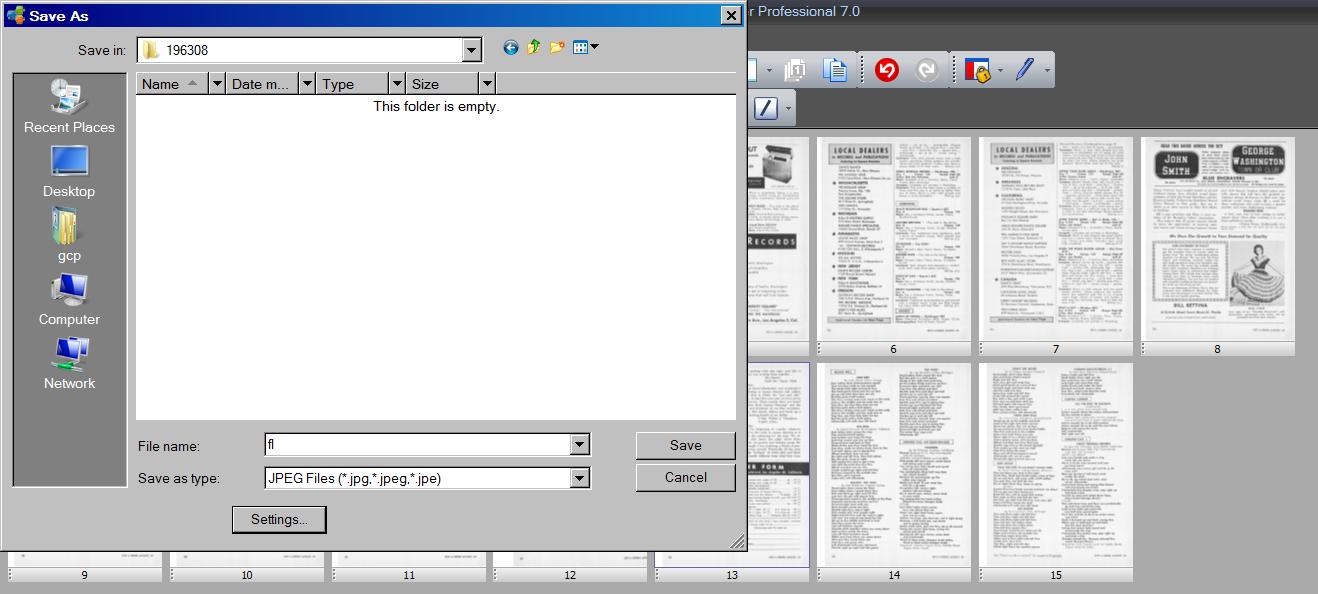
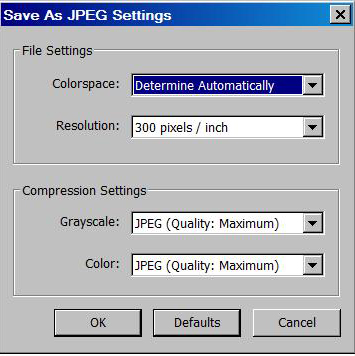
Then click ok and then save. In the box that pops up you need to specify the directory where you want it saved. Put each issue in a different directory and make the file name the year and month at least. See Fig ? above. The pages are saved one per file with the names fl_1.jpg, fl_2.jpg ... . The first time after selecting JPEG you have to click on the "Settings" button that appears and make sure the Resolution is 300 pixels/inch and the Grayscale and color values are JPEG(Quality: Maxiumu).
If you don't select jpg you won't be able to undo the edit to crop the right side. If you did forget and got a pdf you can still do another "save as" to .jpg. Then to crop the right side you have to double click on the page one which pops up the crop window again so you can recrop and continue.
If you selected .jpg you can now click "Edit" and then "Undo" and double click on the first page again. This time crop the right hand page similarly to the left.

Click "Save as" and name the files "fr" (don't forget to select jpg).
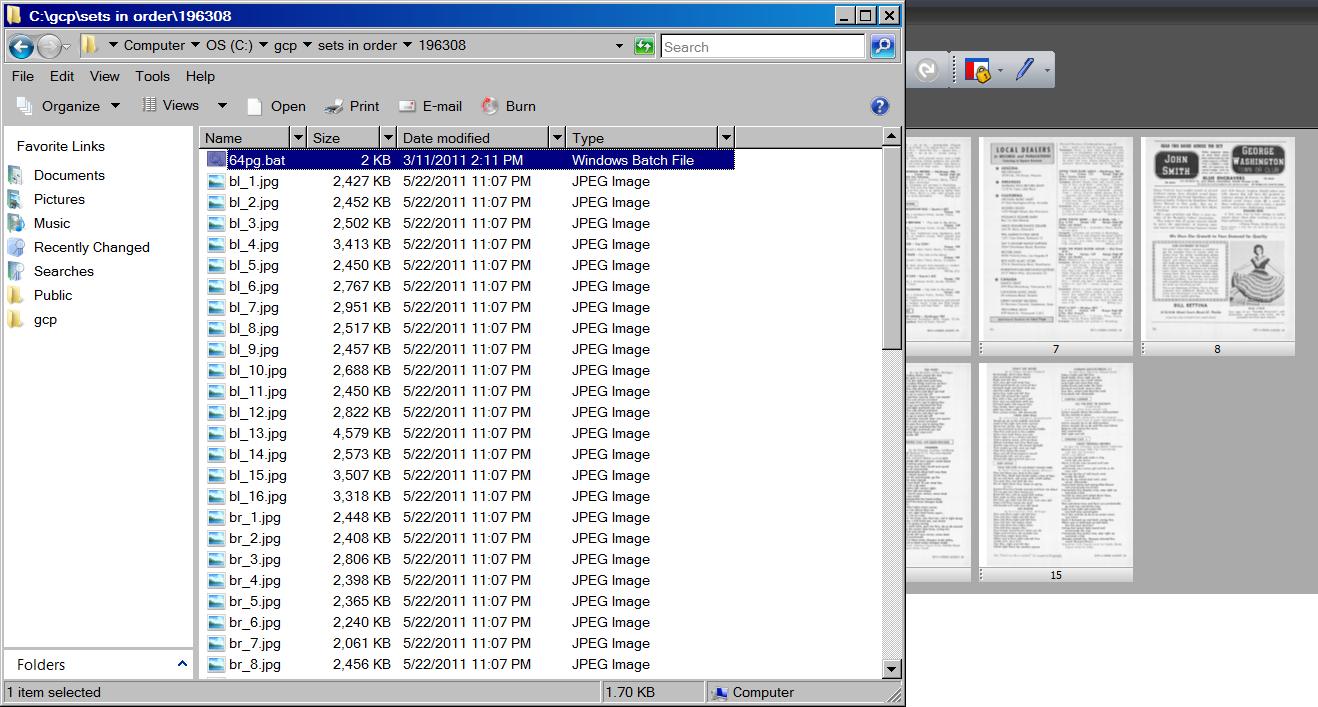
Repeat the process for the back of the pages and name the pages "bl" and "br". Your file should have all the pages mixed up and look something like this.
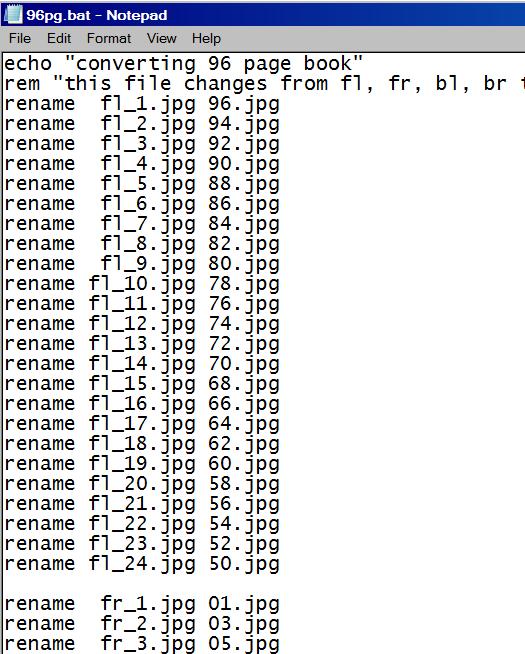
Now you have to rename the images so they are in order. I have created .bat files which do this. Right now there needs to be a .bat file for each size magazine (76 pages, 80 pages, 84 pages, 88 pages [always mutiple of 4]). A .bat file for any size magazine could be written and the number of pages could just be input.
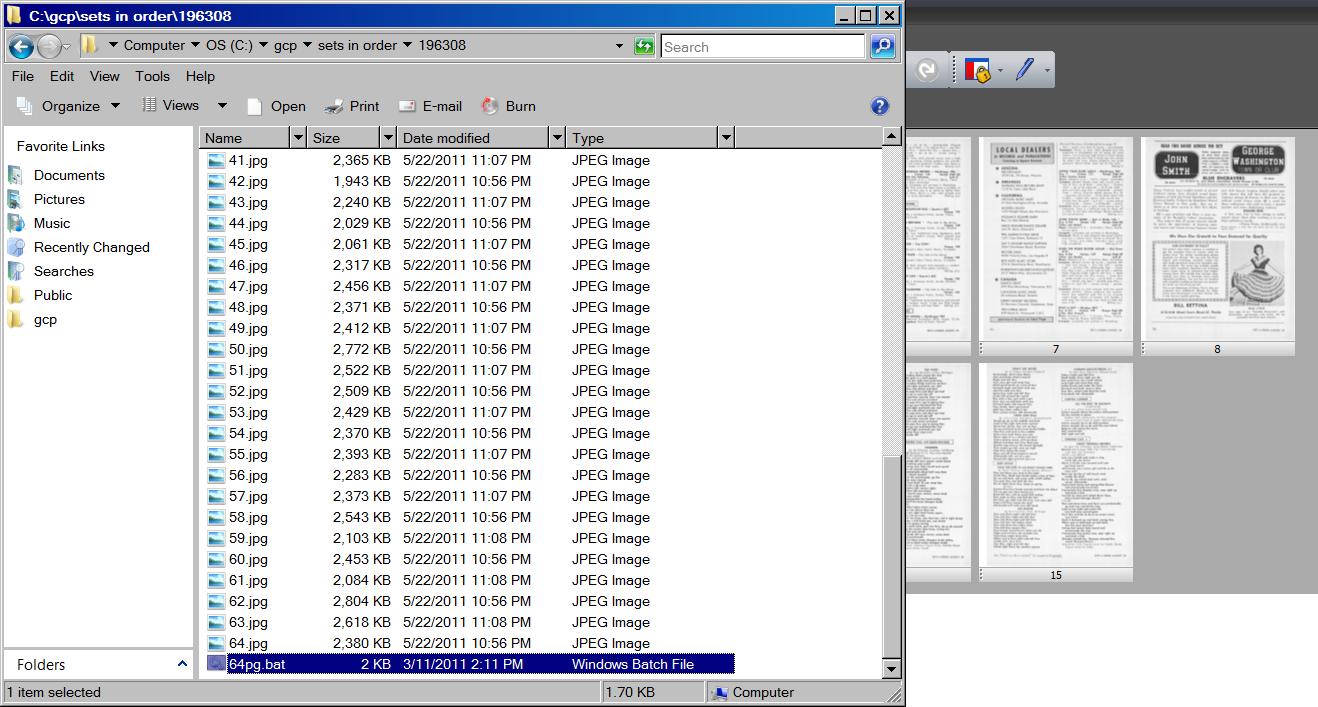
After the .bat file runs the file should have sequential page numbers. If some pages are left with the fl, fr, bl, br prefixes then the .bat file was not the correct one and there were extra pages. If the pages are not sequential then the .bat file was not correct and there were too few pages.
The images are now stored at 300 dpi. However, if you look at the size in Photoshop Elements you will see that they are 72dpi. However the width is 25.4 inches, whereas the original page is less than 6.5 inches. So 6.5 X 300 = 19500 pixels and 25.4 X 72 = 18,288 pixels so the number of pixels is the same.
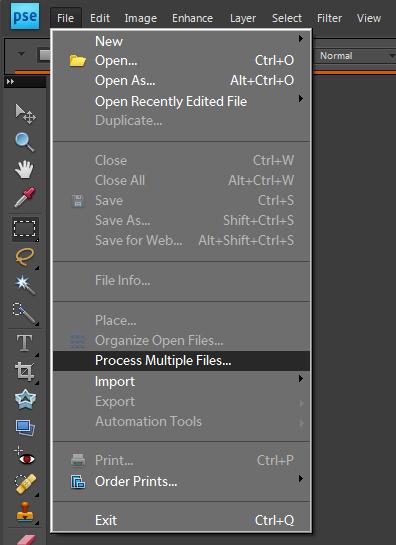
You can increase the quality by then photoshoping the pages in Photoshop Elements. Bring up Photoshop Elements and then select "file" and then "process multiple files".
Then specify the directory where the .jpg images are. It processes each jpg file in the directory leaving others alone so the bat file won't be processed. Use the browse option to select the directory for input and for output. The check box for output to be the same file as for input didn't seem to work. Click on automatic contrast. Then process the file.

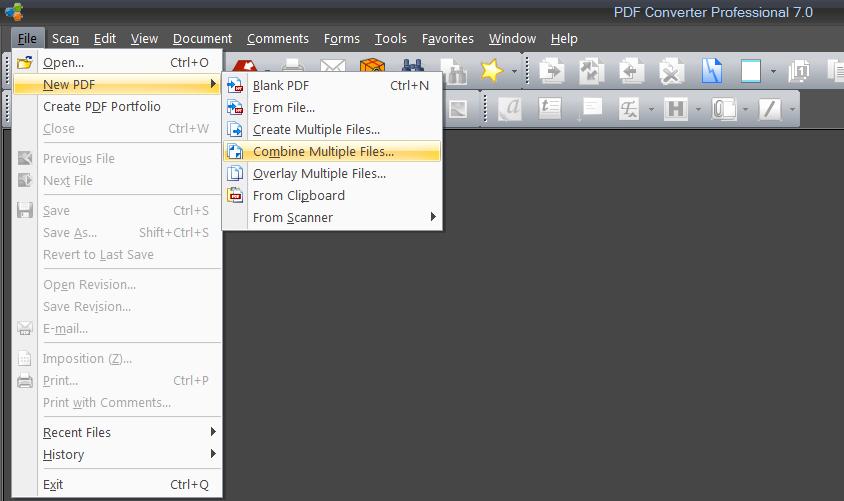
Now create the pdf file. In Nuance select file, New PDF, Combine multiple files.
In the directory where you have the .jpg files sort them in order by clicking in the name field in the directory box and click on the highest page and then holding shift click the first page. This selects all the pages leaving your cursor over pg 1. Holding the left mouse button down drag page one and drop it in the top name box. All the other pages should go in order in the following boxs.
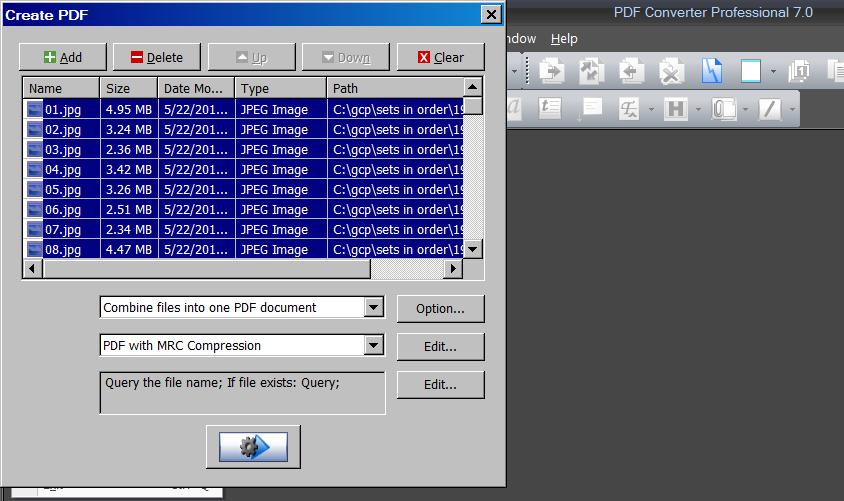
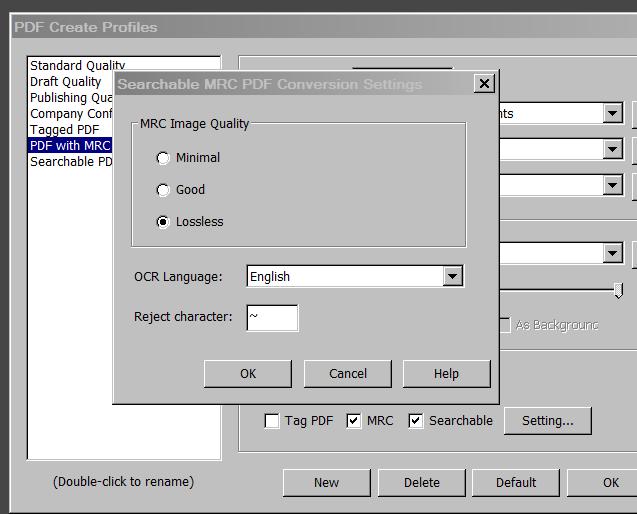
Select pdf with MRC compression. Click the Edit button and make sure that MRC and Searchable are selected (you only have to do this once).
The first time you have to click the settings box. In the box that comes up you have to make sure you click "Embed Non-Standard Fonts", Compression is "lossless". Also you want "MRC" encoding and "Searchable" clicked. Then click the "setting" button next to the searchable title.
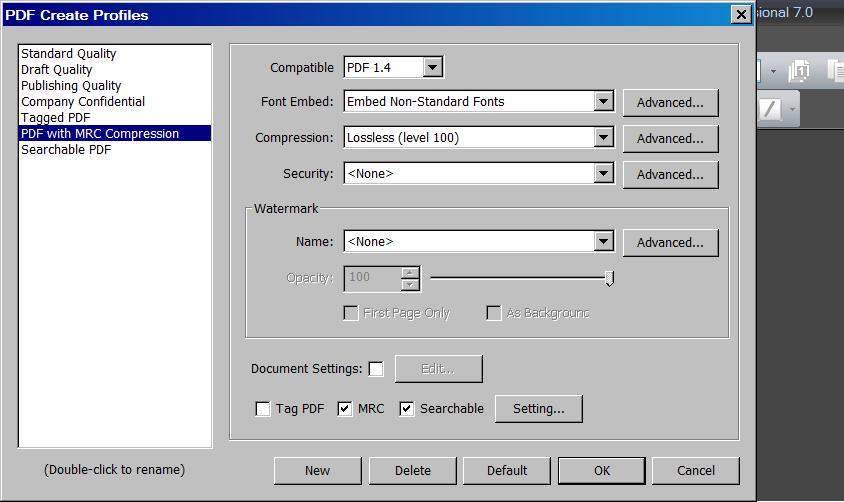
In the box that comes up click MRC Image Quality lossless.
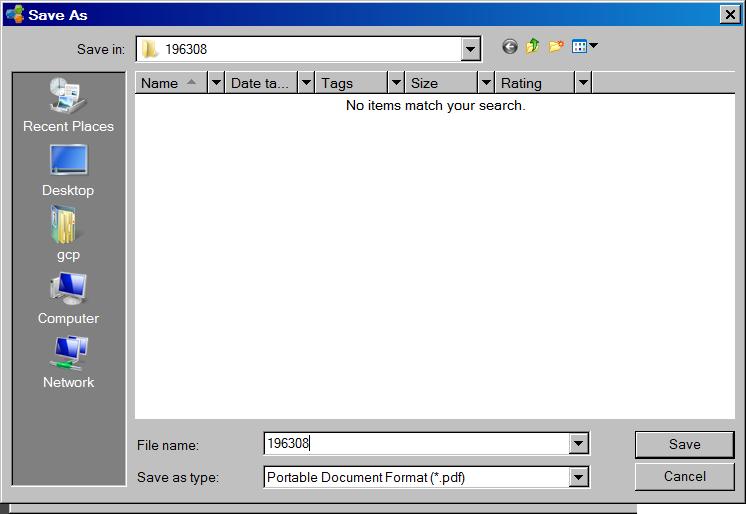
Then press the bottom button to start the creation. In the window that pops up you have to specify the directory and the file name of the resulting file. Again I would name it the year then numeric month of the issue. This will allow sorting later.
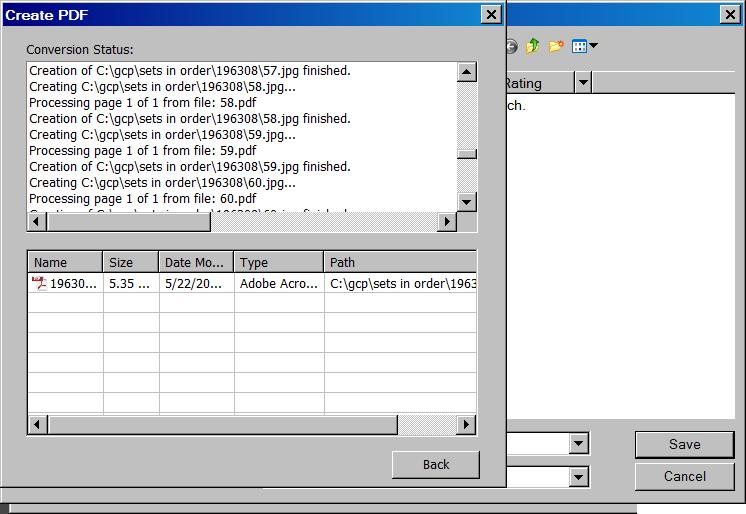
After processing the screen should look like the one below.
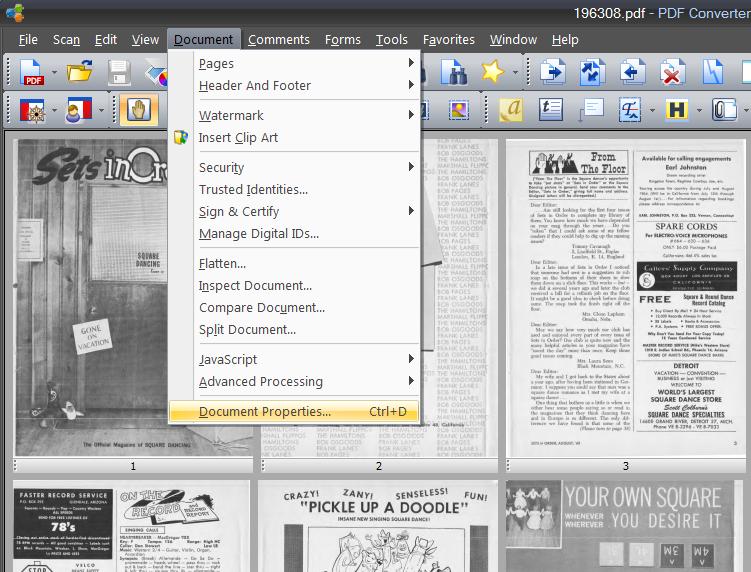
Look at the final file by dragging it into Nuance. Click on document then properties and make sure the title and author are correct. If you change then save the file and then close it.
Now view the file in Adobe reader 10. Make sure it is searchable, and that the properties are correct.
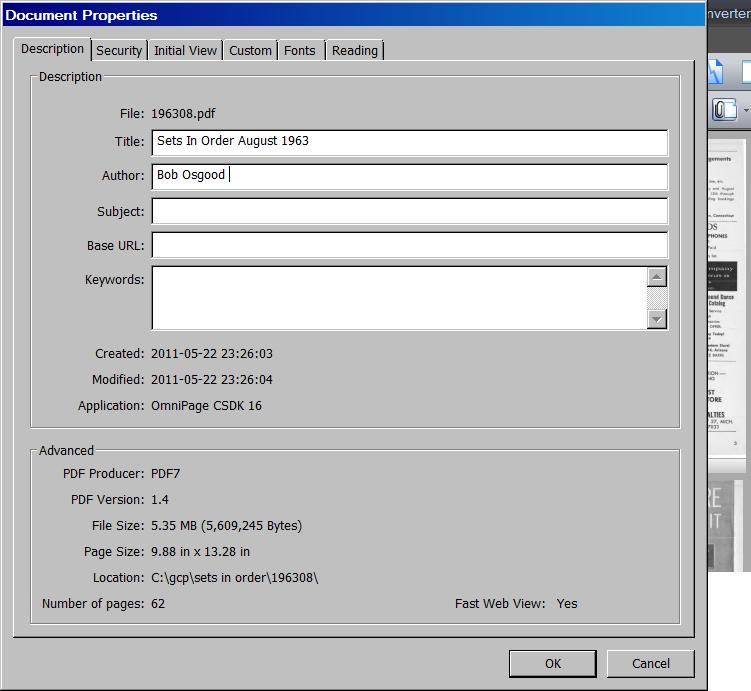
Now view the file in Adobe reader 10. Make sure it is searchable, and that the properties are correct. Make sure copyright notices are correct for a digital copy.
At this point you may want to look for any streaking in the images and clean the scanner glass if there are streaks. Also this is a good time to back up your files for the magazine. If you don't you may lose several hours of work.
If your magazine has both color and black and white pages the procedure needs to be changed slightly. Let's say the first page is color and the rest aren't. First scan in the first page but use the setting "Color page" instead of custom.
Then click on "Scan" again but choose "Scan to existing". After the scanning ends a box will pop up and allow you to say where you want the new pages placed. Select "after" and "last page". Don't select "selected" as this might change from instance to instance and mess up the order. Then click "OK". Repeat as necessary. After the last page you do the cropping as before. To make things easier make sure all pages are oriented the same way in the sheet feeder for each color and black and white section. This way you can crop all the pages together. If the color are one way and the black and white another you may have to crop each set individually slowing you down.
Your comments/questions are welcome. Please send them to
Copyright © 2011, New Square Music, All Rights Reserved
(06/02/11)